Showing posts with label crafts. Show all posts

Jan 9, 2013

Marble Magnet Craft


I came home one day in December to find a package at our door from some of our neighbors. In usual fashion, I opened it up to be the first to taste the holiday treat. Shhh...sometimes I don't save any for Rudy!

I was pleasantly surprised to find these adorable magnet marbles of photos from some of our neighborhood get togethers and their wedding.  Rudy was their photographer


How cute!

I found this tutorial online at www.notmartha.org if you want to try your hand in making them.


We are loving these magnets!
 
Sarah

Dec 24, 2012

Scrapbook Paper Gift Tags

Happy Christmas Eve!  So I have really gotten into using scrapbook paper this year for Christmas.  And the fun didn't end when I started wrapping some of Rudy's presents.  Look how cute these turned out!  And I was reusing the red bags from Reed's birthday party - score!


Happy Christmas Eve!

~ Sarah

Dec 11, 2012

Making a Country Metal Tree Whimisical and Current

Do you have any outdated Christmas decorations?  I had this tree that I liked as far as its function but it seemed a little country and not really my style.

 
It is from the Southern Living Home collection and it is a great piece for your dining room table.  The first thing I did was paint it white using basic acryllic paint.

 
Then I sanded it lightly with sand paper to give it some dimension.


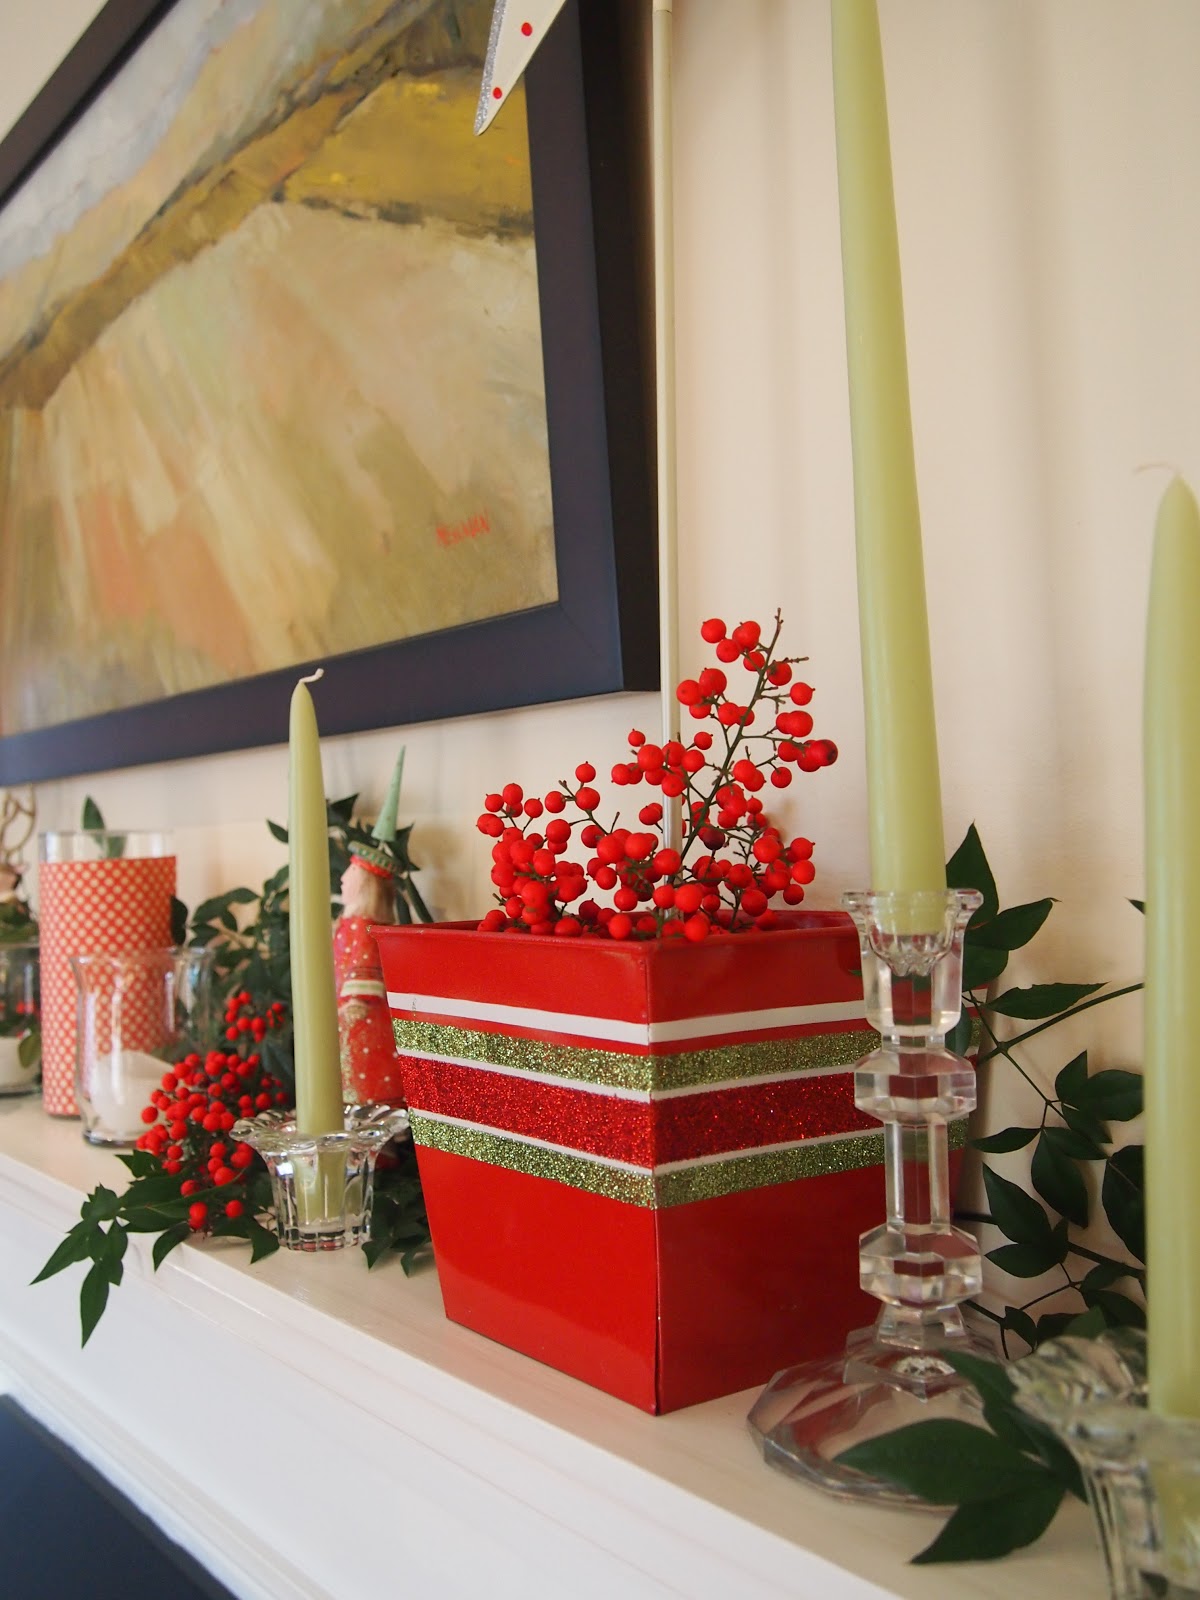
I was going for a whimsical look that would match my whimsical mantelpiece and wreath I made...


 I added some ornaments I had on hand in the color scheme.  Actually these are name card holders from Target about 8 years ago.  I have always loved them!


And cut out scrapbook paper "ornaments" tied on with yarn.


Have you updated any old Christmas decorations?  How did they turn out?

Dec 6, 2012

DIY Paper Wreath Tutorial

 
I made this adorable paper Christmas wreath this past weekend and finally have the finished product and full tutorial to show you!
 
Here is the how to:
 
1.  First start with a standard straw or foam wreath form.  Then wrap it with brown paper to create a "canvas" in which your glue will easily stick.  I don't have pictures but to wrap the wreath cut your brown paper into strips and wind it around the wreath like ribbon and secure with hot glue.
 
2.  Next cut 1 inch wide strips of scrap book paper in 3-5 different complimentary patterns.  I used 40-50 strips for this project.
 
3.  Next make loops with your paper by folding the paper over.


Using a hot glue gun, you will want to glue your loops down like this:


rather than this because you will use less paper and less glue.


Following a pattern worked well and looked nice. 


Although all the papers were green - they were muted in tone so the wreath is nice and neutral.

I added a pop of shimmer with the ribbon and attached it to this mirror above our entry table.


Such an easy and pretty decoration!


I love seeing my whimsical mantel in the background!  This is definitely a project to try.  So easy and reasonable.

Dec 4, 2012

DIY Paper Wreath Sneak Peek!

I posted some great holiday cocktail recipes over at Quite The Occasion today!  Be sure to check them out!

Have you ever been working on a project and realized half way through that there was a better way to do it but it was too late?  That was how this wreath went down.  However, I am glad that the finished project turned out okay.  I will be posting all about that tomorrow!

First I started with this paper wreath that I made this past fall.


I removed the bow and twine which left me with a nice brown paper "canvas" to work with.  Then I cut 1 inch by 4 inch strips of coordinating red and green (mostly green) scrap book paper.  I probably had 40-50 strips.


I started to glue each loop on one at a time using a glue gun layering them as I went.


About half way through I realized by looping them like this, I was using more paper and more glue.


So then I started placeing them like this which helped my paper go further and allowed me to use less glue.


I am going to show you the finished product tomorrow.  The wreath is hanging on my mirror in my living room and looks just lovely across from my whimsical mantel!  I can't wait to get our tree so I can tie in some of these colors into our tree topper and some ornaments or garland!

Nov 6, 2012

Reed's Playroom and Felt Activity Board 1st Try

A few weeks ago, I moved most of Reed's bigger toys downstairs to make a play area for him.  We are not totally finished which is just fine because I think the space will probably grow with him.  But for now, we have his toys under our basement stairs with an open area in the sitting area of our basement.


I already had these great shelves from IKEA and I placed the bins on the bottom level so he could safely get things in and out.  There is a space on the right that was open until I realized a basket I already had fit.  It is sort of a weird size.  Considering I would like to use this basket for parties like we did for Reed's birthday...


 I am still on the hunt for something else.  But for now it works.


I wanted to create a felt activity board for him and made a 1st try last night to see what he thought.  I placed it to the right of the fire place to keep it out of the way.


I purchased 2 yards of green felt for $7.99 from Michael's and then lots of sheets of colored felt.  I was planning on making felt garland for Christmas so I was okay with not using all of it.

I cut a small piece of green and taped it up on the wall.  Next I cut a few shapes out of various colors.  He liked it!  He liked taking the pieces off and tried to get them back on.  I think over time, he will really be able to use it better. 


 For a 1st try, I like the concept. Stay tuned for my final version with a larger surface area and more permanent method of attaching it to our wall.

Oct 12, 2012

DIY Inspirational Quote Coasters


At my full time job, I focus my time on staff development and training.  I was gathering a group of our staff together and wanted to give them something that was meaningful yet practical.  Considering I had a $0.00 budget, I knew I had to get crafty.  In preparation for the meeting I asked each participant to share their biggest accomplish so far with their time with MDA (the Muscular Dystrophy Association).  I took those accomplishments to hand select a quote for each of them.  I presented their tile to them and shared their story at the beginning of the meeting.  It was really special and they loved it!  Here is the how to:

First I created 4x4 black and white images in publisher, placing the verbiage in the center of the tile as you can see above.

Then I printed them out on white card stock paper and cut them to the edge using a paper cutter.

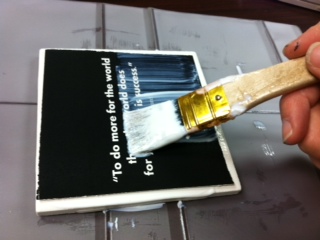
Next I glued them on with mod podge and a paint brush. 

I really loaded it up to create a nice thick protective layer to withstand condensation from a chilled beverage.


Here is the semi finished tile.  You can see how nicely they dried.


To finish them off and to prevent scratches on a tabletop, I placed 4 of these felt pads on the back of each coaster.


This was a great (and inexpensive) recognition project for our team members.  It can easily be done with Christmas Carol lyrics for the holidays, scrap book paper, in color, different fonts - you name it!


Oct 8, 2012

Craft Paper Fall Wreath Tutorial

Fall is here!  It's time to get the front stoop fall ready and a new wreath was just what I needed.  But I didn't want to buy a new one.  Do you remember this wreath from my post last year, Wreath Uncorked?  Well when I pulled it out for this year it needed some love...

 
The corks were all gone and it was just a mess.  So I started over.  This time I simply wrapped it in strips of brown craft paper and twine, glued the bow and hung it on the door.  I love its simplicity!


Here is my fall stoop!  I don't go too crazy with Halloween so it will last through Thanksgiving.


Related Posts Plugin for WordPress, Blogger...