Showing posts with label DIY. Show all posts

Apr 23, 2013

Little updates - Gallery Wall, Room Arranging and Cabinet Removal

Happy Tuesday!
 
 
I have made some little updates to the house.  Sorry for the bad pictures...
 
1.  Finalized furniture layout in the den...for now anyway!  The TV is going to go above those IKEA bookshelves.  At some point we will get something better but for now those will hold the kids toys and are very functional.  I cannot wait until this  room is painted and we have our new sofa and chair recovered.  So blah now!  The new rug came yesterday!  I can't wait to put it down!


2.  Rudy removed the doors on the bookshelf to the right of the fireplace.  I like how it opens it up.  You can see what it used to look like below.


3.  Rudy removed the corner cabinet!  It is awesome the difference it makes!  The room is balanced again, it feels roomier and calmer visually.  Some might think I am nuts for wanting it out so badly but that was the first thing I saw in the pictures of the house online that just looked wrong to me.  And it was such a small cabinet that it really didn't hold very much. 

So here is the empty space.  The bottom is what we had before.  Rudy still has some work to do to clean up the vent. 


4.  I added a gallery wall in the back hallway.  There is a blank spot on the bottom left.  That is going to be for the new little babies footprints.  :)


I cannot wait until I feel more settled in this house!  Little by little!

Have a good one!

~ Sarah

Jan 20, 2013

Fabric Covered Dollar Store Bins

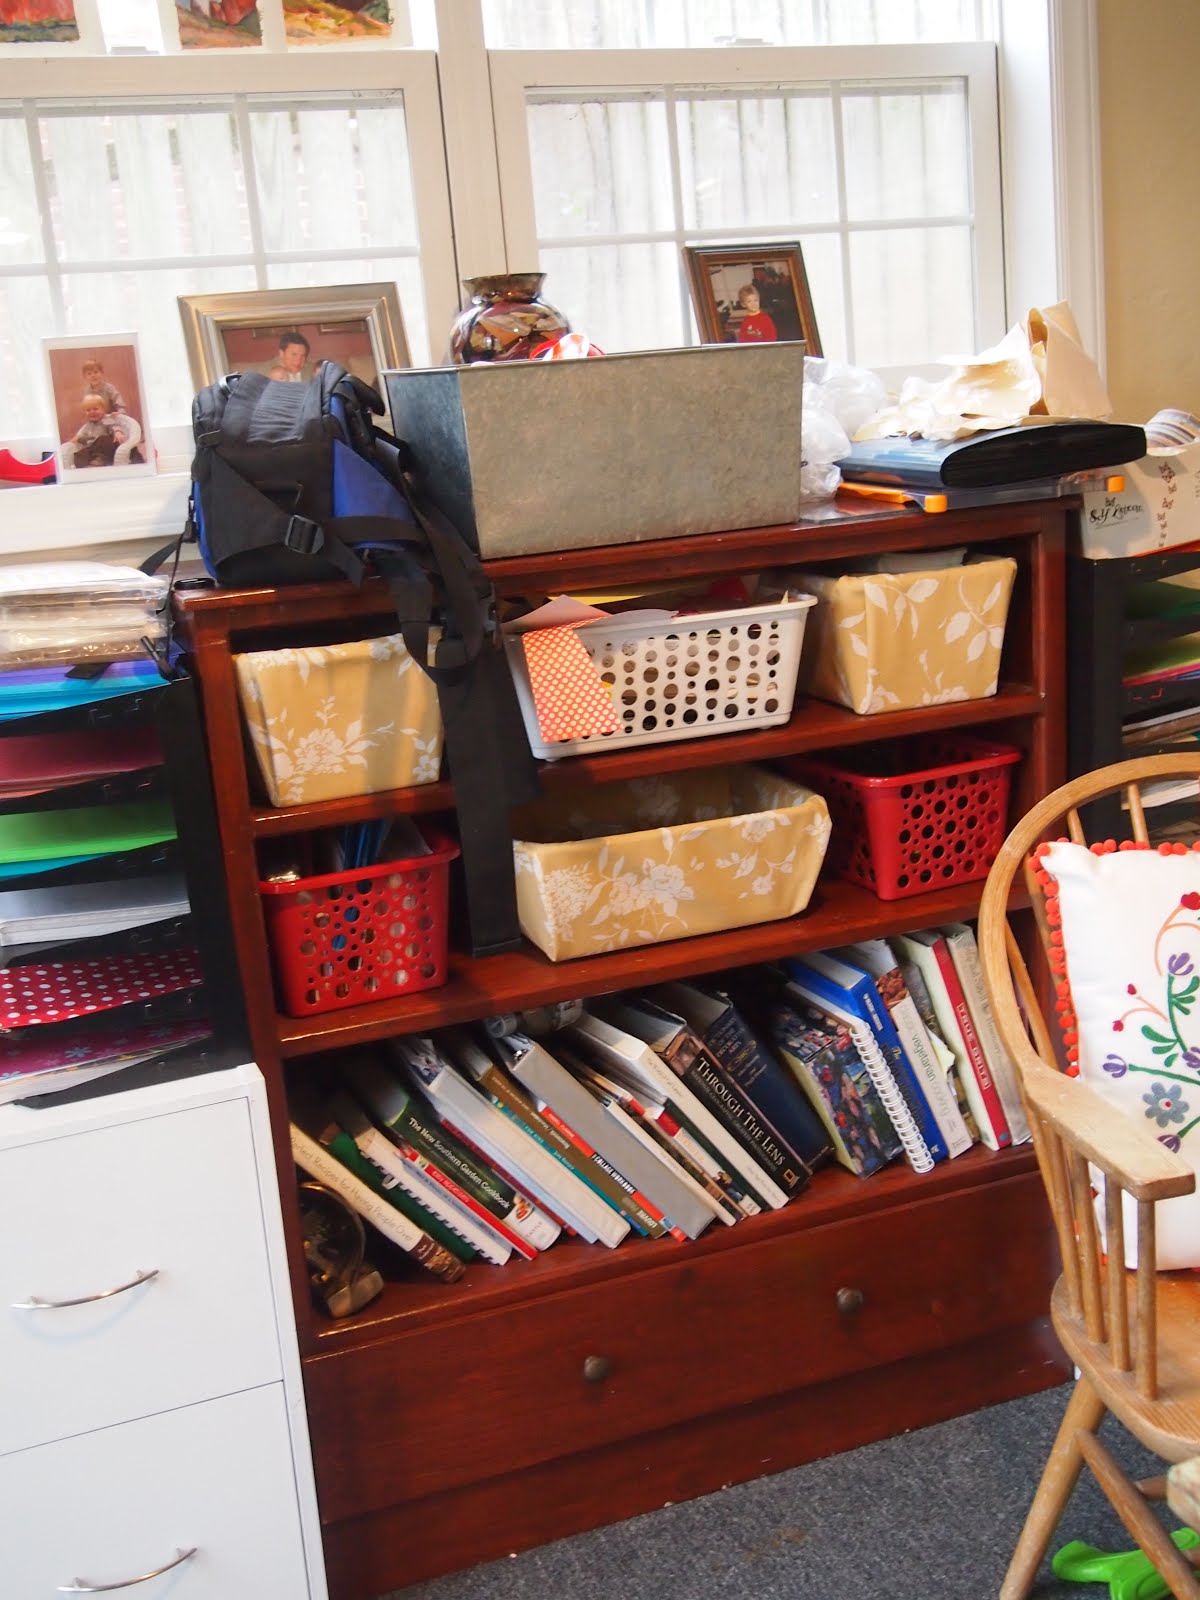
Nope...this project is still not finished.  I am only half way there.  But I thought I would post my project and let you know that you should follow their tutorial.  I didn't really and they look great on the outside but inside they are a hot mess.  I don't mind the hot mess.  But if you want to give these as a gift (thought it would be great for the girl going off to college) then you should get the inside worked out.

Here is the original tutorial you should follow:  http://talesfromacottage.blogspot.com/2012/08/diy-fabric-covered-bins.html


See how neat hers are?  Here are mine...


I will send you the final pictures of my newly organized bookshelf when they are all done.
 
Thanks for stopping by!
 
 
~Sarah

Jan 2, 2013

Cute DIY Chalkboard Mirror


As I have mentioned in the last few posts, I am hoping to feature the great projects of my friends and readers on this blog.  There is so much good stuff out there!

This cute chalkboard was created by my friend Jamie McCollum using a $5 mirror (missing the glass) from Habitat Restore.  She simply painted it white and painted the board with black chalkboard paint. 

She hung the piece in her dining room and this week it features her sweet daughter, Maryn, who is turning 2.  What a great way to share the good news of the family and your menu at a party.

Thanks for letting me share Jamie!

~ Sarah

Dec 6, 2012

DIY Paper Wreath Tutorial

 
I made this adorable paper Christmas wreath this past weekend and finally have the finished product and full tutorial to show you!
 
Here is the how to:
 
1.  First start with a standard straw or foam wreath form.  Then wrap it with brown paper to create a "canvas" in which your glue will easily stick.  I don't have pictures but to wrap the wreath cut your brown paper into strips and wind it around the wreath like ribbon and secure with hot glue.
 
2.  Next cut 1 inch wide strips of scrap book paper in 3-5 different complimentary patterns.  I used 40-50 strips for this project.
 
3.  Next make loops with your paper by folding the paper over.


Using a hot glue gun, you will want to glue your loops down like this:


rather than this because you will use less paper and less glue.


Following a pattern worked well and looked nice. 


Although all the papers were green - they were muted in tone so the wreath is nice and neutral.

I added a pop of shimmer with the ribbon and attached it to this mirror above our entry table.


Such an easy and pretty decoration!


I love seeing my whimsical mantel in the background!  This is definitely a project to try.  So easy and reasonable.

Dec 4, 2012

DIY Paper Wreath Sneak Peek!

I posted some great holiday cocktail recipes over at Quite The Occasion today!  Be sure to check them out!

Have you ever been working on a project and realized half way through that there was a better way to do it but it was too late?  That was how this wreath went down.  However, I am glad that the finished project turned out okay.  I will be posting all about that tomorrow!

First I started with this paper wreath that I made this past fall.


I removed the bow and twine which left me with a nice brown paper "canvas" to work with.  Then I cut 1 inch by 4 inch strips of coordinating red and green (mostly green) scrap book paper.  I probably had 40-50 strips.


I started to glue each loop on one at a time using a glue gun layering them as I went.


About half way through I realized by looping them like this, I was using more paper and more glue.


So then I started placeing them like this which helped my paper go further and allowed me to use less glue.


I am going to show you the finished product tomorrow.  The wreath is hanging on my mirror in my living room and looks just lovely across from my whimsical mantel!  I can't wait to get our tree so I can tie in some of these colors into our tree topper and some ornaments or garland!

Oct 12, 2012

DIY Inspirational Quote Coasters


At my full time job, I focus my time on staff development and training.  I was gathering a group of our staff together and wanted to give them something that was meaningful yet practical.  Considering I had a $0.00 budget, I knew I had to get crafty.  In preparation for the meeting I asked each participant to share their biggest accomplish so far with their time with MDA (the Muscular Dystrophy Association).  I took those accomplishments to hand select a quote for each of them.  I presented their tile to them and shared their story at the beginning of the meeting.  It was really special and they loved it!  Here is the how to:

First I created 4x4 black and white images in publisher, placing the verbiage in the center of the tile as you can see above.

Then I printed them out on white card stock paper and cut them to the edge using a paper cutter.

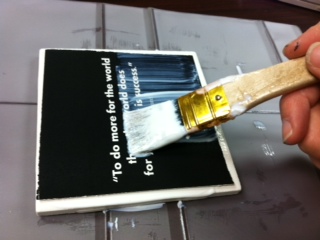
Next I glued them on with mod podge and a paint brush. 

I really loaded it up to create a nice thick protective layer to withstand condensation from a chilled beverage.


Here is the semi finished tile.  You can see how nicely they dried.


To finish them off and to prevent scratches on a tabletop, I placed 4 of these felt pads on the back of each coaster.


This was a great (and inexpensive) recognition project for our team members.  It can easily be done with Christmas Carol lyrics for the holidays, scrap book paper, in color, different fonts - you name it!


Jul 20, 2012

Adding Trim to Sailboat Photo Booth

On Wednesday I wrote about the adorable sailboat picture booth I am making for a nautical themed birthday party.  Theresa and I are styling this event and can't wait to reveal all the photos!

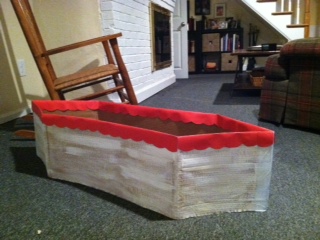
I am not finished yet but did add the trim last night.  This is definitely a project that takes longer than you expect it too!  As a reminder, I am adding the trim because 1. it will look cuter and 2. to cover up the painters tape I put around the edges to make it more stable.

First I cut red card stock in half lengthwise.  Then I took a glass to made my scalloped edges.


I cut out one as a template and then created a total of 8 to wrap around the boat.  I had to cut some smaller pieces to fill in the gaps.  I used tape to attach it.


Here is the boat with the trim.  This morning I noticed that some of the pieces were starting to pop off so I am going to back with glue.

Stay tuned for the finished boat after this weekend!

Jul 19, 2012

DIY No Sew Table Runner

I didn't get as far as I wanted on the sail boat last night...this is how I left it.


Hi Monkey!  I put another layer of paint and let it dry.  I am going to add a paper scalloped border along the top and paint portholes tonight or this weekend.

In the mean time I started working on the runners we will need for our nautical party.  We are creating two out of red, blue and white striped outdoor fabric.  The same fabric will be used on our sail so that they coordinate.

I cut the fabric the length I wanted - two yards.  The great thing about making runners yourself is that you can make them any length. 

Next I used stich witchery to hem the edges of the runner.


I did the long sides first and then the short ends.  As you can see I was left with a bit of over hang.


So I just snipped that off from the other side.


This gave me a nice clean edge.


We are going to be adding rope or some kind of nautical detail to the edges for this party.  Stay tuned for the final look after our big reveal!

Jul 18, 2012

Adorable DIY Sailboat Picture Booth for Nautical 1st Birthday Party

My friend Theresa and I are styling a nautical 1st birthday party and part of the decor will include an adorable sailboat picture booth.  Complete with a bumbo for each baby to sit in and sailor hat to wear!  Can you think of anything cuter than a baby sitting in a sailboat with a sailor hat on?  I can't!
Here is our inspiration picture from the Parents website.  They have a series on a nautical birthday party.   We are borrowing a lot of these ideas for this party.  I will be posting all our projects up until the party to be held on 7/28.

Cardboard boat

Nautical theme birthday party

We are going to make a few changes though so it is more baby friendly.   Instead of two full boxes I was able to use some scrap cardboard from a local hardware store.  This way I could make a six sided boat very easily.


  The first thing I did was cut it down so it was only about two inches taller than the bumbo.


Then I taped the top edges and "seams" to make it sturdier.  The inspiration boat folded the box flaps down which would serve this purpose without having to tape them.


We are going to paint it so it looks like a weathered sailboat rather than so much like a box.  So far I have covered it roughly with watered down gesso to get the whitewash look.  I will add the finishing touches tonight.


Also instead of a Tyvek and painters tape sail as described in the inspiration project, we are using the same fabric we purchased to make runners for the food table.  $6 a yard outdoor fabric which is very sturdy and will hold its shape nicely. 

Here is the piece I was left with after I cut out my runners.


Not exactly what the inspiration boat called for...because I used most of the fabric to make the two runners, I was left with a very long piece of fabric. So rather than a short wide sail, I needed to make a long thin one.


In order to make a perfect triangle (or nearly perfect) I took ribbon from corner to corner to make my cutting line.

I cut it out and the next step is to attach two dowels to the sail so that it is "sea worthy"!

I hope to wrap up the boat tonight to share with you tomorrow.  All of our official photos from the party will be on Monday July 30th!
Related Posts Plugin for WordPress, Blogger...