Showing posts with label Plein Air Painting. Show all posts

Dec 28, 2012

Painting Inspiration

I have been yearning to paint something.  The last thing I painted was the beach down in Wilmington.  I have painted many summer scenes, why not a winter scene?  My friend Bryn snapped this photo while vacation in Wisconsin and I knew the minute I saw it that I wanted to paint it.

 
I like it for a number of reasons.  The color scheme is great - mostly neutrals with very dark details.  Also Bryn captured a great composition (she is a designer after all so she has a good eye!) using the rule of thirds.  The horizon line is in the bottom third of the painting and then she placed the bulk of the "activity" in the lower right third - the house and the tallest tree.  So your eye is naturally drawn there.  Imagine if she had placed the horizon and house smack dab in the middle.  Would have been a pretty boring picture right?
 
Not sure when I will get to this but when I do I will be sure to share!
 
Thanks Bryn for the inspiration!


May 14, 2012

Finished Painting: Title Suggestions?


I am so excited that I painted a painting this weekend for the MDA Silent Auction!  You are not supposed to paint from a picture but trying to paint on location during nap time was not possible.  So I selected this scene from the back of my Southern Living.


Like in every painting, I started with the usual suspects - primaries and white.


Then I mixed my colors.  Usually you are supposed to just do 5 piles (and then modulate later) but for this I did 8 and a few more more later.


I love this light periwinkle blue and how it looks near this happy butter cream yellow.


I also loved this deeper blue.  At this point I was thinking HOLLA - this just might be a good painting!


So then I started painting and hit a bit of a problem.  You see my under painting was too thick and was not dry.  So I needed to lay on a lot more paint...otherwise my sky was going to be orange.  So I literally smeared a ton of white paint straight from the tube on the canvas.  Then I modulated from there.  It worked!  Whew!

This was as far as I got before Reed woke up from his nap.


So I pulled him outside in the exersaucer and kept working.

I got to this point and was loving the sky and the water.  But the trees were needing something.  Reed was getting a little bored so I stopped working to wait for Rudy's opinion.  He was due home from work in an hour or so.  He is good to look at my pieces objectively mid-way through and give me suggestions.


When Rudy came home we determined to modulate the trees much further by varying the lights and darks as well as adding some more dimension to the water. 

This is what I ended up with!  So excited!  So I need a title for this one.  Sometimes titles for paintings are so cheesy.  I just try to go with what something is but hitting a mental block.  What would you name it?  Any suggestions?


Because I globbed on the white paint, it is going to take more than a few days to dry.  I am going to leave a fan on it for several days straight in hopes of getting it to dry faster.  Eek!  I hope it dries in time! 


Does anyone know of ways to get paintings to dry faster?  If so please share.  Stay tuned for the official title and finished piece framed and ready for the auction!  

May 11, 2012

Underpainting


I have begun my work on the piece for an MDA (Muscular Dystrophy Association) silent auction fundraiser.  I haven't picked what I am going to paint but I did want to go ahead and do my underpainting to get my canvas ready.

Underpainting serves a couple of purposes for me.  Mainly by painting the entire canvas a warm tone such as orange or red, it makes the colors I put on top of it warmer and more alive. 

It also takes away the intimidation that a stark white canvas can give you.

It is very basic - I just put a little red and yellow on my canvas and mix it up and then paint the entire canvas.  I try to go more red than yellow because I think my paintings turn out better.


I will let this dry through the weekend and start my painting on Sunday.

I already have a frame and everything!  These plein air style frames can be purchased at Michael's or www.pictureframes.com.  They are perfect for canvas boards.


Have a great weekend and I hope to have a good finished painting to show you on Monday!  Fingers crossed!

Apr 30, 2012

First Beach Painting - Carolina Beach, NC

So we had a fun trip to Wilmington to visit Karen and Mike.  We showed up with a car full of stuff ready to relax at the beach.  We spent the day on Saturday at Carolina Beach just outside of Wilmington.  Reed loved the sand!  He had a great time playing.  He was in awe of the sights and sounds.  It was so cute.


I even managed to do a little painting. 


This was my first time painting the beach.  I feel it is a success beacause 1.  I actually painted and 2. you can tell it is the beach.  It was nice to capture the day.  I do want to paint some of people at the beach but I think I might have to - dare I say it - paint from a picture.  I know you aren't supposed to do that but that is the only way I think I will be able to do it.


I didn't get any pictures of Karen's house...not to make excuses but I get all of track when Reed is around.  Hoping she reads this and sends me some... :)  It looked GREAT! 

Apr 27, 2012

Plein Air Painting At the Beach

I am hitting the road today with Rudy and Reed to go to Wilmington, NC.  We will be visiting my friend Karen and her husband Mike - yay!!!

While I am there I am going to paint some beach scenes.  I want to paint one at least and then get some good pictures to come home and paint more.  I have never painted beach scenes so I went online to look for some inspiration.

I found Debbie Miller's blog and website...I love them and I want one!

Here is a beach scene...


And here are some people watching (which we all know the beach is awesome for!)...


Look at this one below.  You see how the shadow on the towel is just one quick strong stroke?  And the highlight?  Look at her leg too...I love this...not all detailed and busy with random paint strokes just because.  She painted what was there and left it.  I love the background too. You can tell it is the beach, yes.  Are their waves or each little grain of sand?  No.  That is the beauty of plein air.  You are outside so you have to work fast.  That means you are more intentional with your strokes.  Bolder. 


I love this beach scene with the umbrella.  This is what we are going to be most of the day Saturday!  We have an upright paddle board, we got an umbrella, we got sunscreen, we got painting supplies, we got cards, we got good friends.  It is going to be great!


Looking at these paintings gets me inspired!  I hope I come home with some good ones!

Mar 14, 2012

Yeah...so painting canyons is hard...

I set out to paint in Zion and had success in that I actually painted but the paintings didn't turn out very well.  Painting canyons is hard!  Especially when you haven't painted in months.  But here is the thing.  If I want to paint a good painting, I will have needed to paint 4-6 paintings before it.  I just need the practice.  So although, these did not turn out very well, they will mean that I will probably paint better in the April Workshop I am attending as well as a painting trip I have scheduled in Wilmington, NC at the end of April.  I am hoping to have one 12x16 piece to donate to the MDA auction as well as paint a few pieces for my friend Karen for her new house in Wilmington.

Fingers crossed that these duds will pave the way to some winners next month!

Here are the details of my painting adventure in Zion!


I started out by not going very far from the hotel room. Our hotel Flanigan's Inn has an awesome labryinth atop a small canyon on the property. I hiked up there and was pleasantly suprised to find a picnic table.

They lead spiritual journey things up here.  I am not sure what these stacks of rocks are but I think they are related to that.


Here is the view I was going after.


Here is my very basic set up.  Love the simplicity!


When I paint I use the rule of thirds a lot.  I try and put my focal point in one of these areas - making the dots helps me stay on track.


Then I draw out my painting using red or blue.  Usually I do some red/orange underpainting.  But didn't do it on this trip.


For color, this is what the sky initially started out as.  I work to make colors from some combination of the primaries.  I always start with white for the sky and rarely start with it for any other colors in my painting.  I make 4-5 piles of paint of the main colors in my painting.


I used the piles below to block in the basic shapes for this painting.


Then I modulated...upon realizing this wasn't going to improve.  I stopped where I was and ended painting for the day to join Reed and Rudy in a sunset hike and picnic at Kolub Canyon.


Here we are...it was cold but beautiful!


The next day Rudy headed to Bryce Canyon and I stayed back to paint.  Because I had the little guy, I opted to paint from our deck.  There were several views to capture and I could make the most of my time between naps.


Painting 2 - looking a little more canyon-esque.


Painting 3 - I called it quits after this one.


It would be easy to be disheartened when your paintings do not turn out very well.  But as I said, I have to paint 4-6 so so ones to get a good one.  It is just how it is.  I can't wait to pick up the brush again!


Mar 6, 2012

Packing For Plein Air Painting


Whenever I travel, I try to bring my painting supplies so that I can paint on the road.  The beauty of plein air painting is that it is super quick – you can paint one painting in about 2 hours usually.  You work fast because the light changes but also since you are working on smaller, more portable surfaces it just doesn’t take as long.  I really haven’t painted in so long and I miss it.  I kind of yearn for it actually so I really wanted to go for it this trip.  But knowing that I probably won’t have that much time, I decided to go even more portable and even smaller.

So typically on a driving trip or even a flying trip when I didn’t have a bunch of baby stuff to take with me, I would take my plein air field easel.  But since I was stuffed to the gills with all of our luggage, I opted to go even smaller and lighter. 


So here is my set up.

  1. Plastic school supplies case from Michael’s or Wal-mart – maybe $2?
  2. Paint – red, yellow, blue and white oil paint.  Very light and the norm when I paint.  I always mix my colors from scratch.  If you don’t, try it.  It is a fun challenge and my favorite thing about painting.
  3. 4 brushes
  4. palette knife
  5. 1 disposable palette paper pad.  I have brought folded up sheets of wax paper before but the pad doesn’t weigh all that much and I can put my finished pieces in between the sheets coming home to protect them.
  6. 4 binder clips for my palette pad – sometimes when it is windy the paper blows around – i.e. paint blobs in unwanted places.
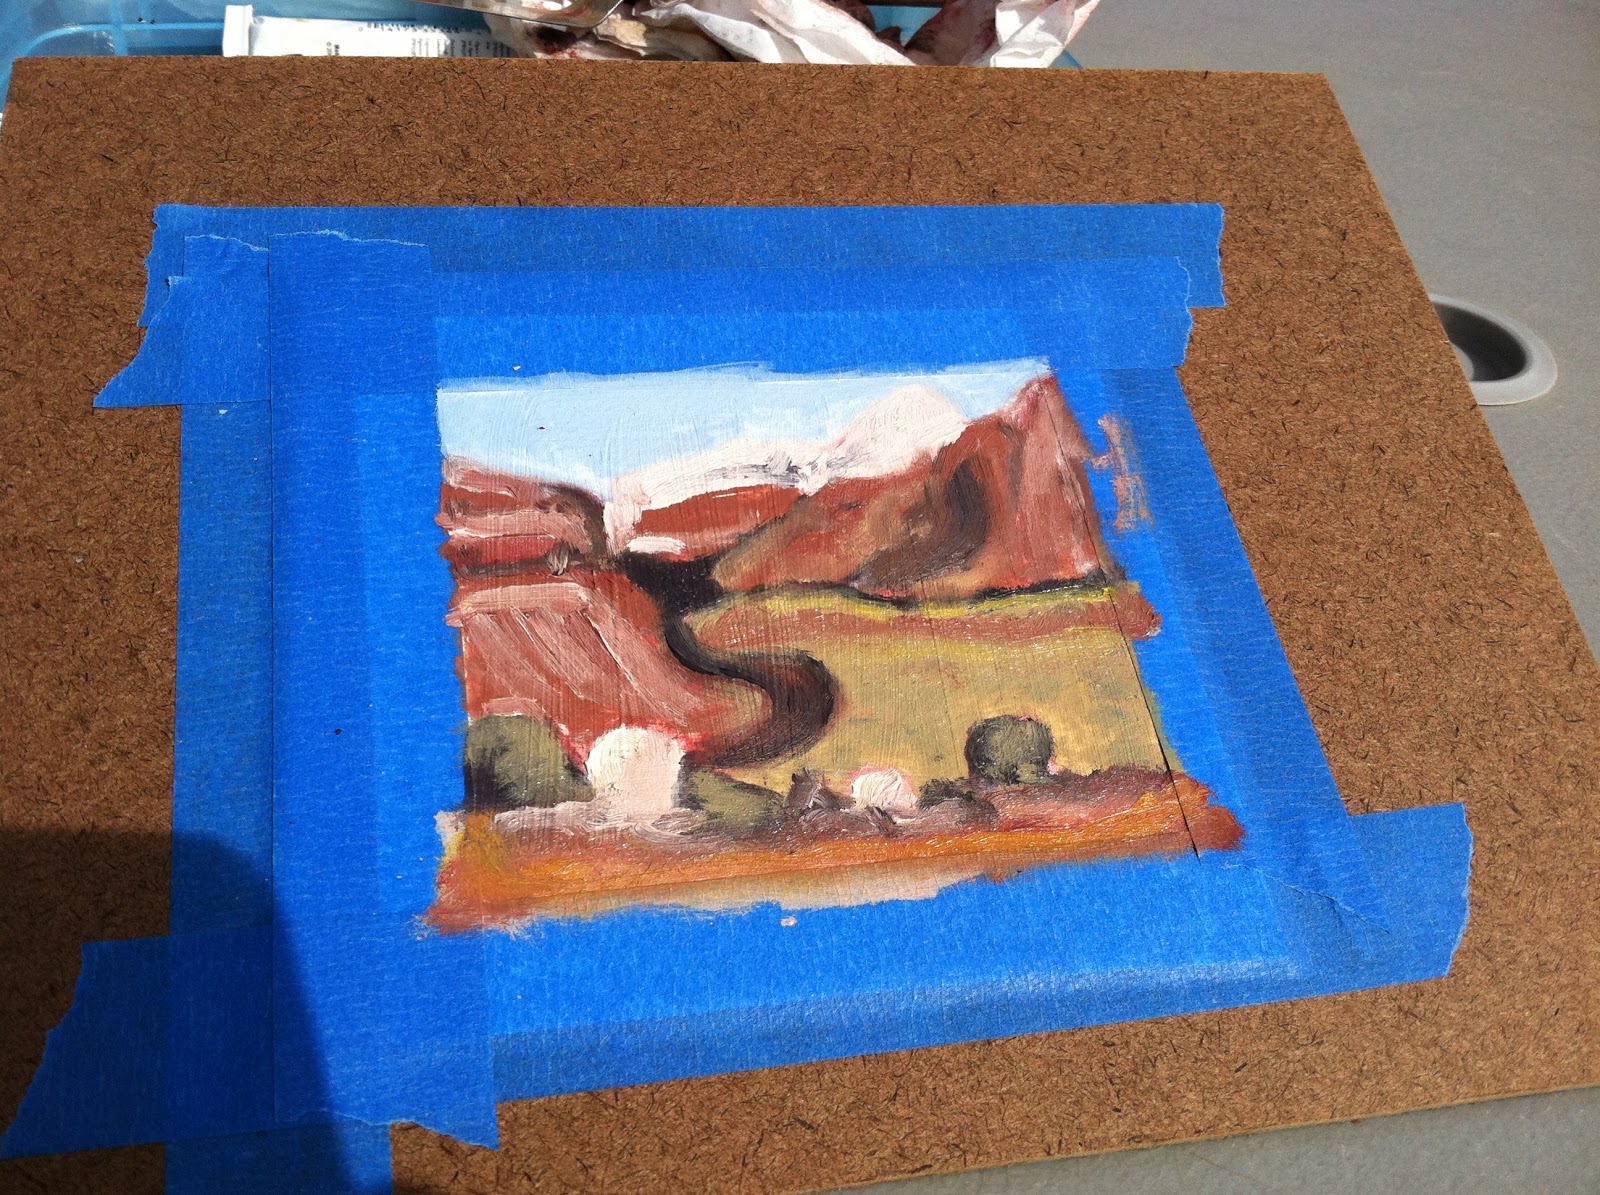
  7. Surfaces – I took one sheet of heavy water color paper and gessoed 4 small areas.  I cut each one out to make 4 small surfaces.  Each area is probably at least 3 x 3 – maybe 3x4.  Not only is paper light but I will be able to paint quickly which will be key in order to finish one before the next time Reed needs to eat.  Paintings dry quicker on paper too which is helpful when it comes to flying back.
  8. 1 small wooden board and painters tape.  So when it comes time to paint, I will tape down my “canvas” on the board.
  9. Paper towels.
  10. Turpentine and jar – because turpentine is flammable, I did not bring it with me.  Plus it really smells and I didn’t want our clothing to smell like it in the suitcase.  We will just buy a jar of pickles and some turp on the road and leave it there.
Everything fits in the little box except for 3 of my brushes, the board and palette paper.  Because we will be in the desert, I will look for a rock to perch on or perhaps even use the back of the rental car so that I can stand and paint.

The goal is to paint one of the first few days we are on our trip so they will be nice and dry by the time we go home.  Odds are paintings 1 and 2 will not be anything to write home about but 3 and 4 should be better and maybe even good.  Then I can frame these or use them as a guide to paint them larger when I get back home.

Stay tuned for pictures of my painting from the road!

Feb 7, 2012

Tour of an Artist's Home and Studio

This past weekend I had the pleasure of attending an Italian Dinner Party with Jean Cauthen.  I traveled to Italy with her and from time to time we like to get together to relive that awesome week.  While there she gave us a tour of her home and her studio.  I was able to get some pictures and wanted to share them with you.

Awesome painting of chairs - this was probably 4 feet x 3 feet or even larger.  Awesome.


 In her studio...

 Jean talking with my friends Ruthie and Theresa...


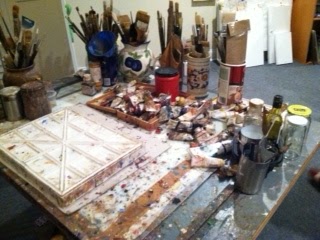
Look at this work space!!  This over looked a big window and a small porch on the second story of the home.


I believe she made this in grad school...love the boots!


2 story gallery wall...

Gallery wall grouping in her dining room...


This one is different from the rest of her paintings...a collage in oil.


Her porch off of her studio.  She and her sweet dog Blue like to eat lunch out here.


Every thing in her home is for sale and she rotates it in and out to put in galleries.  Better to hang it and enjoy it rather than keeping it in storage!
Related Posts Plugin for WordPress, Blogger...